
When I tell most people that, they're immediately impressed. Another response is, "Oh. Well. You live with a chef who can just whip up that sort of thing." Yes, he can. But seriously, folks, it's not hard. At least not the way we do it.
 My bff Suzanne has been doing her own bread baking for a while now (a year? two years? I can't keep track). When I saw her do it, I was intrigued and - as I said above - impressed. Fresh homemade bread always available. Sounds amazing and time-consuming. But it's so not!
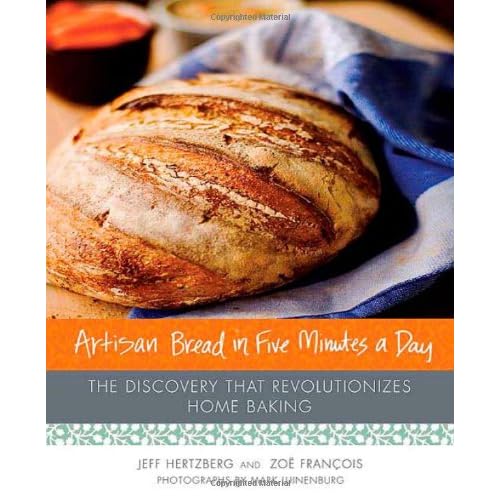
And so she bought us the book for Christmas that she uses. It's called "Artisan Bread in 5 Minutes a Day" and it's amazing! The best thing is that it doesn't require any kneading and you can make a mix (good for 3-4 loaves) and store it in the fridge for up to 2 weeks, baking only what you need each time. We've enjoyed having fresh bread these last few weeks, knowing exactly what is in it (flour, yeast, water and salt) and the smells that come from the kitchen when it's baking. The master recipe is easy to remember and the book includes lots of variations on the master recipe, including how to make bagels, challah, cinnamon rolls, and pizza dough. It's definitely worth getting if you're interested in baking bread, yet feel intimidated by the process. The book is really user-friendly and easy to understand (not full of baking jargon as some books are). It's a great introduction if you want to start down the path of baking your own bread.
Basically, what we do is mix up the dough in a big tupperware tub (something like this) and leave it out on the counter to rise for a couple hours (or longer if your kitchen is as cold as ours is). After that, it's ready to be baked or stored in the fridge. When you're ready to bake, pull out a grapefruit sized ball of dough, put it on the floured counter, shape it into a ball (no more than 1 minute - you're not kneading, but merely shaping), put it on a floured baking tray, cut a couple slices in the top for it to rise, let it rise for about 30-45 minutes (or longer, again, if your kitchen is cold) and then stick it into a hot oven with a little water in the bottom to create steam to help the crust get texture. 30 minutes later, and - Voila! - you have freshly-baked, warm, yeasty bread with crunchy crust! Put the rest of the dough back in the fridge for the next day. And if you want a sourdough taste, simply keep mixing the new batches of dough in the container without washing it out each time, as the old dough incorporates into the new dough and gives it the sourdough flavor.
It sounds time-consuming, but it's really not. Literally, it does just take about 5 minutes a day once you get the steps down. It's super-easy and tastes a helluva lot better than store-bought bread, plus it's cheaper since a bag of flour and some yeast makes about 8 loaves for the price of 1 loaf of store-bought bread.
 As far as materials go, the only thing besides flour and yeast that we needed to buy in order to start baking our own bread was the large plastic tub to mix and store the dough in. That's it. The book calls for a pizza peel, baking stone, and a few other things, but you don't need them. A non-stick baking sheet and some flour or cornmeal is all you need.
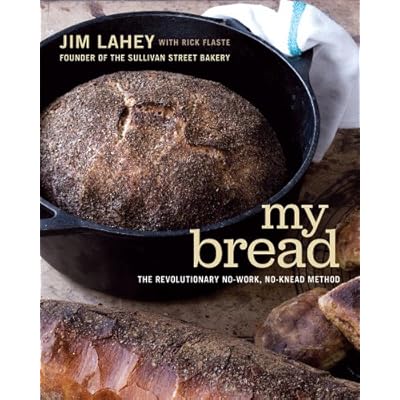
Another method for no-knead baking is found in the book called "My Bread" by Jim Lahey who is the founder of the Sullivan Street Bakery in New York. There's differences between these two methods despite the fact that neither require kneading. I don't have Lahey's book yet but want to get it at some point soon (see the link below for the comparison between the different methods). Lahey's bread uses less yeast and bakes the bread in a cast iron dutch oven.
So, if you fancy having a go, I highly recommend trying it out. Short of using dead yeast (check your use-by dates!) or not letting the bread be in a warm place or sit long enough to rise properly, it's pretty fool-proof. And the best thing is that you know where your food is coming from and what's in it.
Some other links on the interwebs related to the No-Knead Breadmaking method:
- The Secret of Great Bread: Let Time Do the Work (New York Time article featuring Jim Lahey)
- Comparison of three No-Knead baking methods (Lahey, "Artisan" and King Arthur recipe)
- Breadtopia's take on the No-Knead method, including videos
it's so true. it's sooo stinkin' easy. i'm even condensing the steps in the recipe so that folks see that you can't really make a mistake. so glad you're delighting in making it!
ReplyDeleteI made bread a couple times this past summer, and was amazed at how easy it really was - not to mention infinitely better than store bought! I made some lovely crusty French loaves. The problem for me was portion control - this was also back in July, though, so lately I'm thinking about baking bread again, but either doing rolls or mini-loaves so I can freeze them or give some away.
ReplyDelete